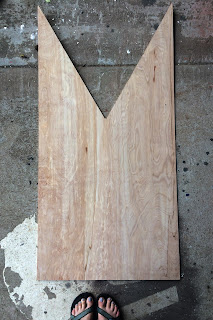
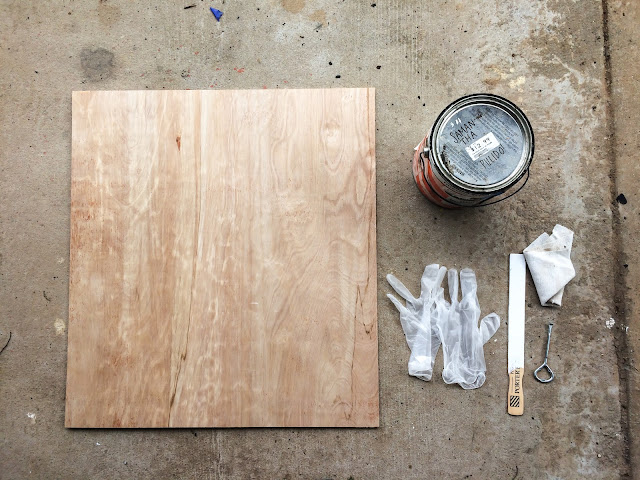
In a last minute attempt to gather props for engagement session a few weekends back, I made this sign (which you may have seen in my previous post). I had enough foresight at 6 A.M. to actually document the process (or at least most of it), so that I could share it with you all. As I expected, this turned out to be a fairly quick and easy task. All-in-all, this project took me less than an hour INCLUDING drying time, so here's how I did it...
Materials:
-scrap wood
-A saw or box cutter
-A rag
-Stain
-A paint pen
-Gloves
One) Using the straight edge of your saw, line up your slab of wood with the blade of the saw where you would like it to be cut.
Two) Put on your safety goggles. Turn on the saw and gently guide the wood through. If you don't have a saw, click here to see how to cut wood with a box cutter.
Three) Put on your gloves and grab your rag. Open the can of stain and stir it up.
Dip your rag in the stain and gently wipe it across the wood until you are satisfied with the look.
Four) Give the stain time to dry. I used a fast dry stain,
so mine was dry in about 30 minutes.
Five) Finally, grab your paint pen and get to writing!
Aside from allowing my stain to dry,
I would say all in all I spent about 25 minutes on this project!
Last but not least take your new cute photo prop to your next photo shoot and smile for the camera! (or hide your face behind it)
First and last picture shot by my friend Leslie L.
You can find a link to her site in this post here.


No comments:
Post a Comment